Drawing—shapes
Objectives
- Be able to generate and display stimuli formed from a variety of shapes (lines, rectangles, circles).
Using psychopy, we can also easily draw a variety of shapes.
Lines
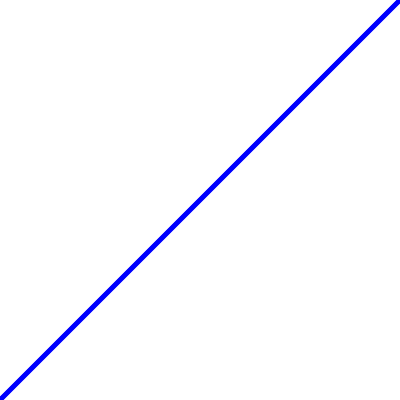
Perhaps the most simple “shape” stimulus is a line, which we can create in psychopy using Line.
The two critical arguments to create a line are start and end, which are each two-item lists that specify the x and y coordinates of the start and end points of the line, respectively.
For example, to draw a line from the bottom left to the top right of our screen, we could do:
import psychopy.visual
import psychopy.event

win = psychopy.visual.Window(
    size=[400, 400],
    units="pix",
    fullscr=False,
    color=[1, 1, 1]
)

line = psychopy.visual.Line(
    win=win,
    units="pix",
    lineColor=[-1, -1, -1]
)

line.start = [-200, -200]
line.end = [+200, +200]

line.draw()

win.flip()

psychopy.event.waitKeys()

win.close()

We can also change the colour of the line using lineColor and its width using lineWidth:
import psychopy.visual
import psychopy.event

win = psychopy.visual.Window(
    size=[400, 400],
    units="pix",
    fullscr=False,
    color=[1, 1, 1]
)

line = psychopy.visual.Line(
    win=win,
    units="pix",
    lineColor=[-1, -1, -1]
)

line.start = [-200, -200]
line.end = [+200, +200]

line.lineColor = [-1, -1, 1]
line.lineWidth = 5

line.draw()

win.flip()

psychopy.event.waitKeys()

win.close()
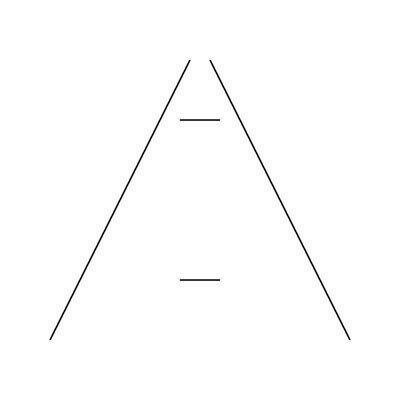
Many visual illusions can be created using simple line arrangements. For example, by drawing a few lines we can create a Ponzo illusion, where the upper horizontal bar looks a bit bigger than the lower horizontal bar:
import psychopy.visual
import psychopy.event

win = psychopy.visual.Window(
    size=[400, 400],
    units="pix",
    fullscr=False,
    color=[1, 1, 1]
)

line = psychopy.visual.Line(
    win=win,
    units="pix",
    lineColor=[-1, -1, -1]
)

bar_horiz_offset = 20
bar_vert_offset = 80

for bar_offset in [-1, +1]:

    line.start = [-bar_horiz_offset, bar_vert_offset * bar_offset]
    line.end = [+bar_horiz_offset, bar_vert_offset * bar_offset]

    line.draw()

pers_far_horiz_offset = 150
pers_near_horiz_offset = 10
pers_vert_offset = 140

for pers_offset in [-1, +1]:

    line.start = [pers_far_horiz_offset * pers_offset, -pers_vert_offset]
    line.end = [pers_near_horiz_offset * pers_offset, +pers_vert_offset]

    line.draw()

win.flip()

win.getMovieFrame()
psychopy.event.waitKeys()

win.close()
Rectangles
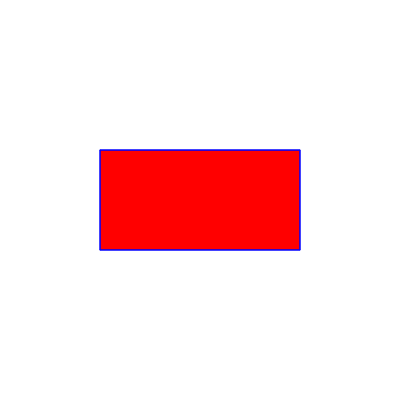
We can also create rectangles, using psychopy’s Rect.
The two critical arguments are the height and width of the rectangle.
We can also set a fillColor.
import psychopy.visual
import psychopy.event

win = psychopy.visual.Window(
    size=[400, 400],
    units="pix",
    fullscr=False,
    color=[1, 1, 1]
)

rect = psychopy.visual.Rect(
    win=win,
    units="pix",
    width=200,
    height=100,
    fillColor=[1, -1, -1],
    lineColor=[-1, -1, 1]
)

rect.draw()

win.flip()

psychopy.event.waitKeys()

win.close()
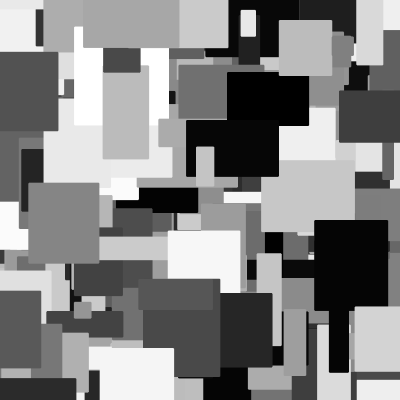
A class of visual stimuli that makes heavy use of rectangles are the so-called Mondrian patterns. In such a stimulus, a large number of rectangles of varying widths and heights are drawn at random positions—which ends up producing a pleasant variegated stimulus:
import random

import psychopy.visual
import psychopy.event

win = psychopy.visual.Window(
    size=[400, 400],
    units="pix",
    fullscr=False,
    color=[1, 1, 1]
)

rect = psychopy.visual.Rect(win=win, units="pix")

n_rect = 500

for i_rect in range(n_rect):

    rect.width = random.uniform(10, 100)
    rect.height = random.uniform(10, 100)

    rect_color = random.uniform(-1, 1)
    rect.fillColor = rect_color
    rect.lineColor = rect_color

    rect.pos = [
        random.uniform(-200, 200),
        random.uniform(-200, 200)
    ]

    rect.draw()

win.flip()

psychopy.event.waitKeys()

win.close()
Circles
Circles can also be useful, and are created by psychopy’s Circle.
The critical parameter for a circle is its radius.
import psychopy.visual
import psychopy.event

win = psychopy.visual.Window(
    size=[400, 400],
    units="pix",
    fullscr=False,
    color=[1, 1, 1]
)

circle = psychopy.visual.Circle(
    win=win,
    units="pix",
    radius=150,
    fillColor=[0, 0, 0],
    lineColor=[-1, -1, -1]
)

circle.draw()

win.flip()

psychopy.event.waitKeys()

win.close()
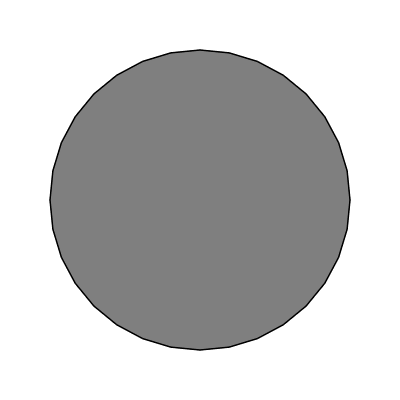
Notice though that the edges of the circle are not all that smooth. That is because the circle needs to be approximated with a set of points, and psychopy uses 32 by default. We can increase that a bit to give smoother circles (at the cost of more computation and storage requirements):
import psychopy.visual
import psychopy.event

win = psychopy.visual.Window(
    size=[400, 400],
    units="pix",
    fullscr=False,
    color=[1, 1, 1]
)

circle = psychopy.visual.Circle(
    win=win,
    units="pix",
    radius=150,
    fillColor=[0, 0, 0],
    lineColor=[-1, -1, -1],
    edges=128
)

circle.draw()

win.flip()

psychopy.event.waitKeys()

win.close()
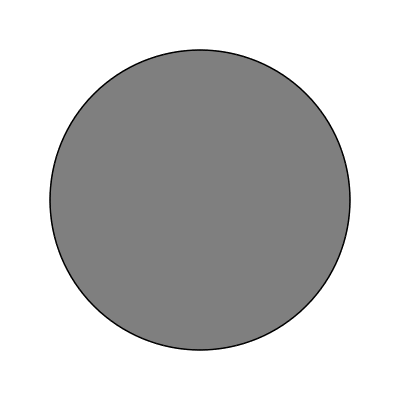
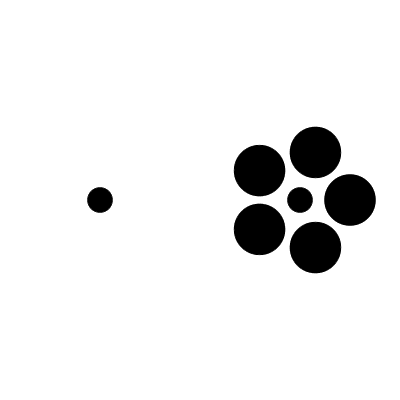
That looks nicer. Keeping up with the tradition of this lesson, we can create a compelling size illusion (called the Ebbinghaus illusion) using a few circles:
import psychopy.visual
import psychopy.event
import psychopy.misc

win = psychopy.visual.Window(
    size=[400, 400],
    units="pix",
    fullscr=False,
    color=[1, 1, 1]
)

circle = psychopy.visual.Circle(
    win=win,
    units="pix",
    fillColor=[-1] * 3,
    lineColor=[-1] * 3,
    edges=128
)

# 'test' circles
circle.radius = 12

test_offset = 100

for offset in [-1, +1]:

    circle.pos = [test_offset * offset, 0]

    circle.draw()

# 'surround' circles
surr_thetas = [0, 72, 144,  216,  288]
surr_r = 50

for i_surr in range(len(surr_thetas)):

    [surr_pos_x, surr_pos_y] = psychopy.misc.pol2cart(
        surr_thetas[i_surr],
        surr_r
    )
    surr_pos_x = surr_pos_x + test_offset

    circle.pos = [surr_pos_x, surr_pos_y]
    circle.radius = 25
    circle.draw()

win.flip()

win.getMovieFrame()
psychopy.event.waitKeys()

win.close()
Tip
Note the use of a new function in the above code, psychopy.misc.pol2cart.
Often when creating visual stimuli it can be more intuitive to work in polar coordinates (polar angle, radius) than cartesian coordinates (x, y).
We can use this function to easily convert from polar to cartesian.